Building your own mechanical keyboard, to some this sounds weird others have done it. It's definitely a first for me, so I decided to do a write up on this project. In this part we'll look at programming the firmware for this keyboard and I want to share some of my experiences soldering the thing together.
Previously...
A few weeks ago I ordered all the parts for my first custom mechanical keyboard. I went with the iris keyboard since it felt something that I could do without having the experience.
Most of the parts turned up in the first week of januari. If you're interested in the parts list, [check out part 1 of the series](https://fizzylogic.nl/2018/12/23/building-your-own-keyboard-part-1/).
There's two things still missing: The cable that connects the two parts of my keyboard together and a set of keycaps. I ordered those through aliexpress but got unlucky. The seller didn't deliver and I am now waiting for someone at aliexpress to give me back my money.
I'm having a hard time getting the cable that connects the two parts of my keyboard. I ended up buying one from an online cable vendor for 4 euros. It's a little long but I think it will do.
Building the keyboard
Now that I have most of the parts I wanted to get started building the keyboard as soon as possible. So as soon as I finished chapter 4 of my book I gathered some tools and started soldering.
I'm using the official build guide for the iris keyboard over on keeb.io which is a great guide. I decided not to add the LED support components or the RGB led strip. I might regret it later but I can always add them after the fact.
My experience so far has been pretty good. The printboards for the keyboard I got from candykeys.com are really well thought out. They are mirrored so you can solder components on the front and back as you see fit. Although if you follow the build guide, you will end up soldering most of the smaller stuff on the back of the boards so you can reach in and do repairs if you need to.
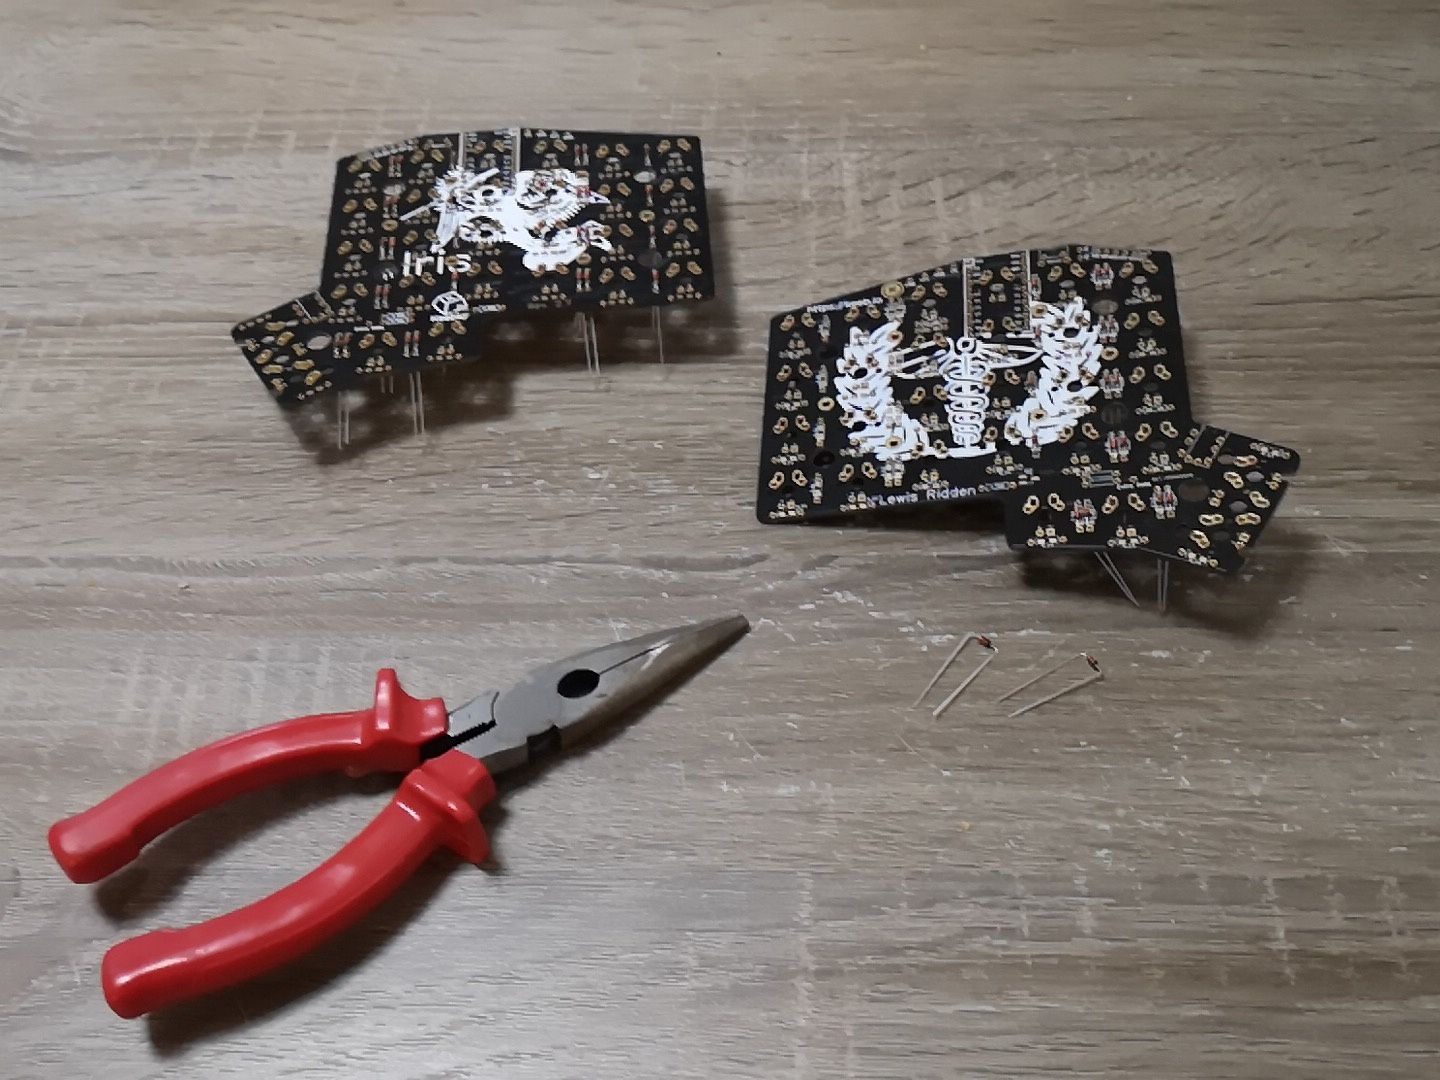
I spend about an hour soldering on all the diodes for the key switches. There 56 keys on my keyboard so that's a lot of diodes. I don't have a bending guide for them so I used a pair of pliers to bend the legs of the diodes.
Tip print or buy a bending guide for your diodes. It will save you a lot of time.
After I soldered the diodes I added the reset button and connectors for the serial cable that runs between the two parts of my keyboard. I used some tape to keep the larger components in place.

Finally it was time to add the headers for the controllers. When you follow the build guide on keeb.io you will need to solder the headers to the back of the boards. This is the only way you will have enough space for the controller.
Tip: Check the controllers before you actually solder them onto the board. It's hard to flash the initial firmware on a broken controller. Also, they don't come off that easy when you've soldered them.
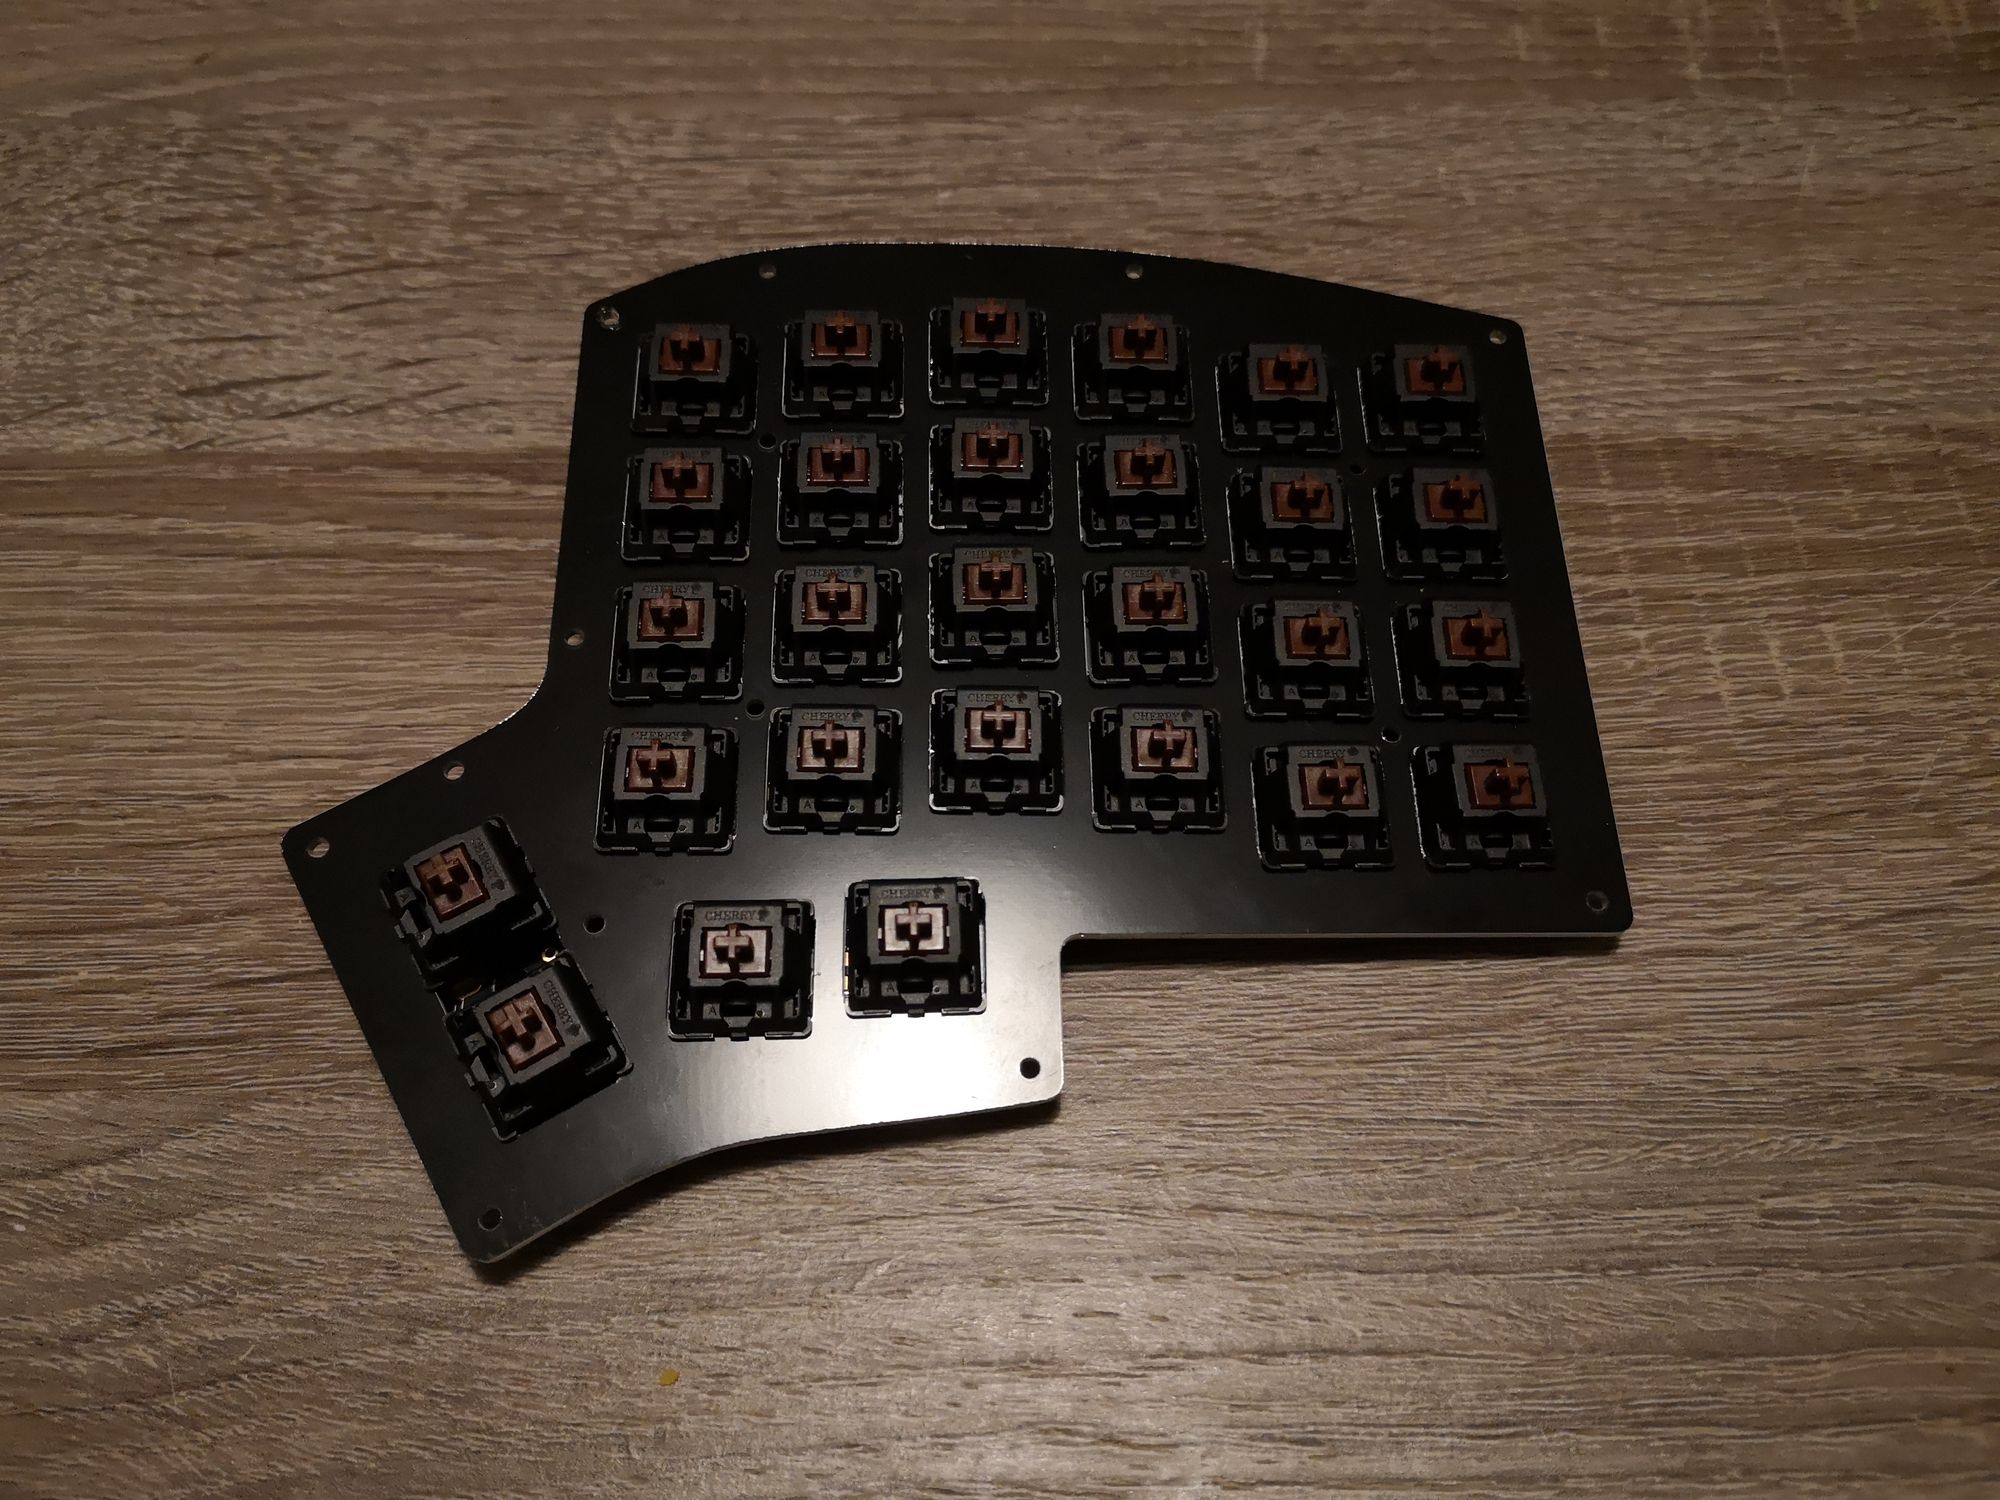
Finally I added the key switches to the board. I started with four of them. Each in a corner to fix the plate. I'm using plate mounted switches. You have to stick them through the plate and then solder them. This is also why you add them last, since you can't reach the print board after you've soldered the switches.
All that is left is soldering the controller to the back of the board and putting everything in its case. Sadly I ran out of solder so I still have some switches to put together. Hopefully I can get that done tomorrow.
Building the firmware for my keyboard
Now that I have the hardware it is time to start thinking about the software for this thing. My keyboard has only 56 keys so there's no room for a numpad or directional keys or even home/end. So I have to get creative with my layout.
I'm using QMK firmware for my keyboard which allows you to add custom function keys and even layers to your keyboard. I'm still figuring out how it works exactly, but there's a lot you can do!
If you're interested in building your own keyboard layout, make sure to check out their newbie guide. It's excellent.
For the Windows 10 installation I used WSL (Windows Subsystem for Linux). I didn't go for the whole MSYS2 since frankly: It sucks.
To install QMK on Windows you need to clone the repository inside powershell to a folder on your disk. From Bash for Windows navigate to this folder and run util/wsl_install.sh this installs everything you need on WSL to get started.
After you're done you can create a new keymap for the iris keyboard using the following command:
cd util
new_keymap.sh iris <username>
Make sure you replace <username> with your username. It should not include spaces or special characters.
You can now edit the keymap inside Visual Studio Code by running code iris/keymaps/<username>. Again replace <username> with the username you used to create the keymap.
A keymap file is created using C. In the keymap.c file there's a sample of the default keymap. You can add more layers if you want. You can also modify how layers are activated should you need to.
I will put my personal keymap up on github once it's done. Hopefully some of you will find it useful.
Once you have a good keymap, you can compile it using make iris:<username>. This compiles the keymap and generates a hex file that you can flash into your keyboard.
Next steps
I'm still working on my keymap and figuring out how to make it usable for my taste. Once that's done and I have all the parts I am going to finish up the keyboard and write a final post to show you the end results.
Stay tuned!