How to configure memory limits in WSL2

One of the downsides to building machine learning models is that you need quite a bit of power in your machine. I’ve just upgraded my home desktop that I use for side projects and experiments to 64GB of memory because it was clearly no longer up to the task. However, when I booted up my WSL linux distro, it couldn’t get more than 32GB of memory. Time to figure out how to fix that!
In this quick post I’m showing you how you can limit or increase the memory available to your WSL2 distributions. Let’s go!
What exactly is WSL2?
Before we dive into some configuration settings, let’s first step back and look at what WSL2 exactly is. Windows Subsystem for Linux has been around for a while now and allows you to run a version of Linux on your Windows machine without Hyper-V or other virtualization software.
First we had WSL, which was a Linux kernel written specifically so it could work together with Windows. Writing a specialized kernel for Linux brings along a number of limitations and it was clear that the Linux community who were using WSL was demanding so much more that it was impossible for WSL to keep up with the demand.
Microsoft quickly made WSL2. The big difference: It has a regular kernel. Which means you get all the goodies Linux has to offer. The downside to this: It’s a VM!
So wait, we’re back with a VM, but that’s slow, right? Here’s the catch: It’s not slow, in fact, it’s super fast to boot and I haven’t had any problems with performance. Well, apart from the memory limit that is.
Memory usage in WSL2
Since WSL2 is a virtual machine you’ll need to assign it resources. Microsoft provides some sensible defaults. WSL2 is allowed access to all CPU cores and GPU cores if you have WSLg installed. Memory is limited to half of your system’s memory. In my case WSL used 16GB because I had 32GB before my upgrade.
Please note, it can use up to a maximum of half your memory and all CPU/GPU cores. It doesn’t if there’s no need. When you create a regular VM, memory is locked for the VM to ensure it has enough. In this case, WSL can allocate more if it needs to use more.
Now that you know how resource management works on a high level, let’s take a look at configuring the memory limit.
Configuring the memory limit
You can configure the memory limit by creating a .wslconfig file in your user folder. Mine’s C:\users\wme. Next add the following content to the file:
[wsl2]
memory=48GB
Make sure to set it to a value that makes sense. I have 64GB so I set it to 48GB. That leaves me with a bit of memory to work with in Windows itself. Save the file after you’re done.
Now reboot WSL with the command: wsl --shutdown.
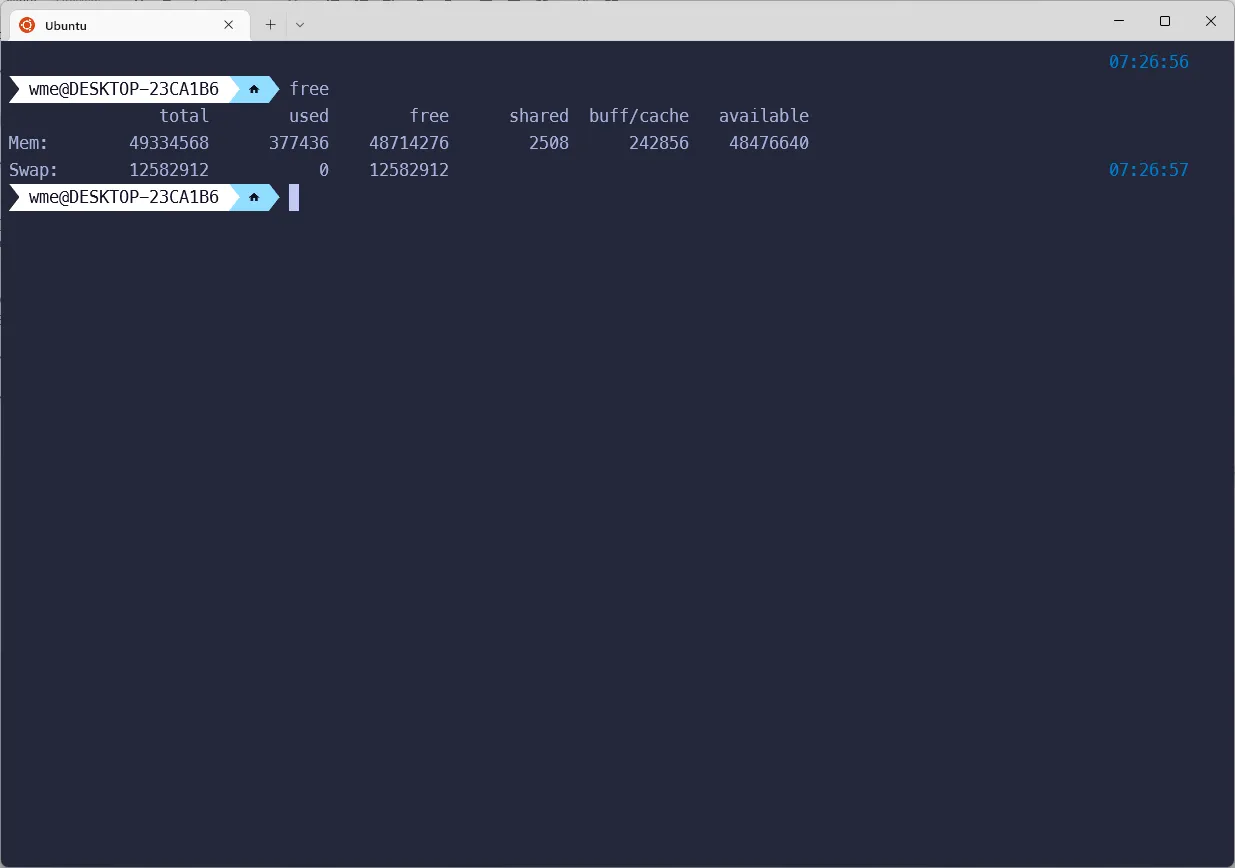
You can verify the new memory setting by running free in the linux distribution you have installed. It should list content like the following:

Conclusion
This concludes configuring WSL2 with more reasonable memory limits. If you haven’t tried using WSL2 with machine learning projects or otherwise, I can highly recommend checking out this guide on towardsdatascience.com: How to Create a Perfect Machine Learning Development Environment With WSL2 on Windows 10/11
Make sure you also check out my guide on setting up WSLg for GPU support!